Administration: Tag Creation
Tags - The primary purposes of defining tags is to identify staff and clients to limit data visibility and allow for reporting categories that do not follow organizational unit boundaries. For example, if contracted services are performed in several organizational units, the tag function allows these services to be identified and collected for reporting purposes.
Tags are designed to be organized into a hierarchy (a "taxonomy") which allows for logical grouping of the tags.
During initial installation of your SMR application, a set of one or more "root" tags will be created specifically for your organization.
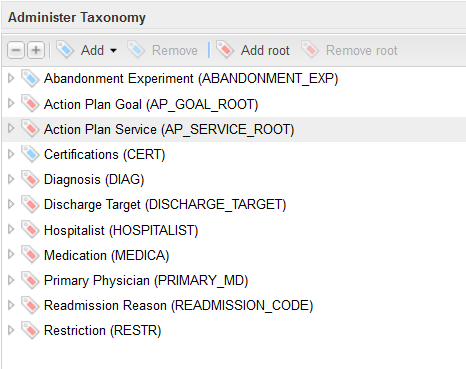
In our current demonstration site, there are three root tags:
1. Contracts
2. Programs
3. Services
Use the following procedure for adding Tags:
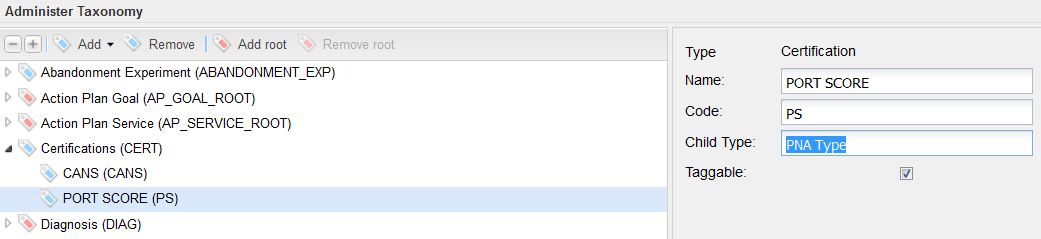
1. In the Administration sidebar, click on the "Taxonomy..." option. This will display the screen shown below.
1.1 Use the "+" icon to expand the root tag list, the "-" icon to collapse the list to show only the root tags.
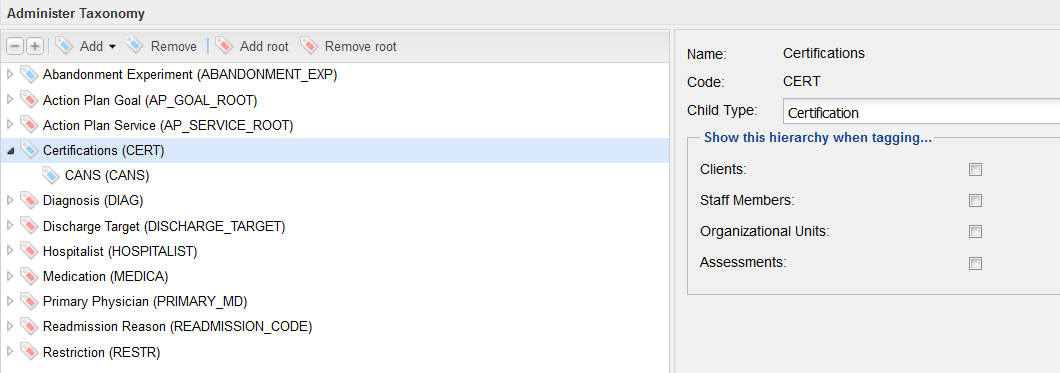
2. Select a tag by clicking on it in the tag list area, e.g. "Certifications."
2.1 Child Type - enter a name for the children of this root tag, in this example, "Certification"
2.1.1 Note: if Child Type is left blank, no child tags can be created under this root tag
2.2 Visibility check boxes
2.2.1 Clients - if checked, display this root tag and its children when administering clients.
2.2.2 Staff - if checked, display this root tag and its children when administering staff.
2.3 Click on the Save button if any changes are made here.
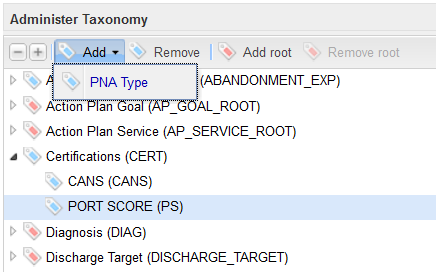
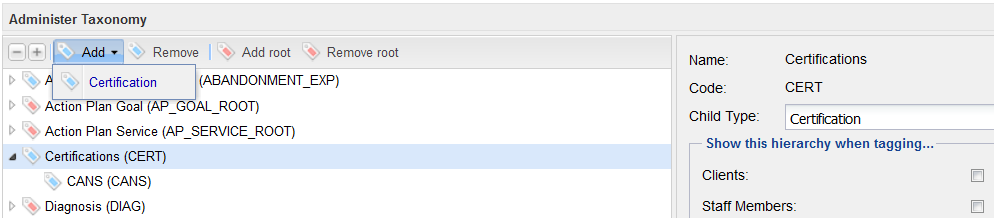
3. Add a Child tag by clicking on the "Add" option and then click on the dropdown list item, in this example, "Certification"
4. On the Tag Detail pane, enter the following information:
4.1 Name - a user friendly name for this tag
4.2 Code - a short code for this tag
4.3 Child Type - if there will be child tags underneath this tag, enter a name for these tags.
4.4 Taggable - if this tag can be used to identify clients or staff, this checkbox should be checked. If this check box is not checked, this tag cannot be used.
4.5 Click on the Save button
4. Repeat steps 3 & 4 to create additional sibling tags under this root tag.
5. In this example, an additional child tag has been created under the "Port Score" child tag, using the process described in steps 2, 3, and 4 above.